Ready to Get Your Logo?
If you own a business, you may have considered printing your logo or digitizing embroidery for merchandise. Printed logos are not as preferred as embroidery logos because the print can deteriorate and wear off the merch. Hence, most brands prefer digitizing logos for embroidery. However, to digitize files for embroidery or digitize images for embroidery, you need to put in a lot more effort than you expected. If you want to digitize photos for embroidery, it is more complex than you think. This article will walk you through how to digitize a logo or, more specifically, how to digitize a logo for embroidery.
What is logo digitization?
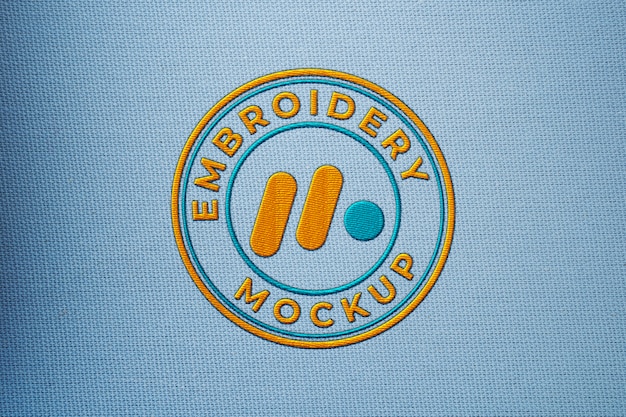
Before you learn how to digitize a logo, you must understand what it means. Let’s say that you created a body scrub business three years ago that’s picked up loyal customers and they approach you saying they want t-shirts to wear because they love the brand so much. Unfortunately, you can’t just use a PNG or JPEG file of a logo and proceed to use it in an embroidery machine. ‘How to embroider a logo?’ you ask. It is quite simple; you just need to learn how to digitize a logo in a way that the machine understands them. You can do this by converting them into embroidery files. Every file depends on the kind of machine you have on hand; you must use the correct one for the machine to deliver the best results.

How to digitize an image for embroidery?
Learn how to digitize embroidery designs using these simple steps:
How to Digitize a Logo
1. Digitizing Software
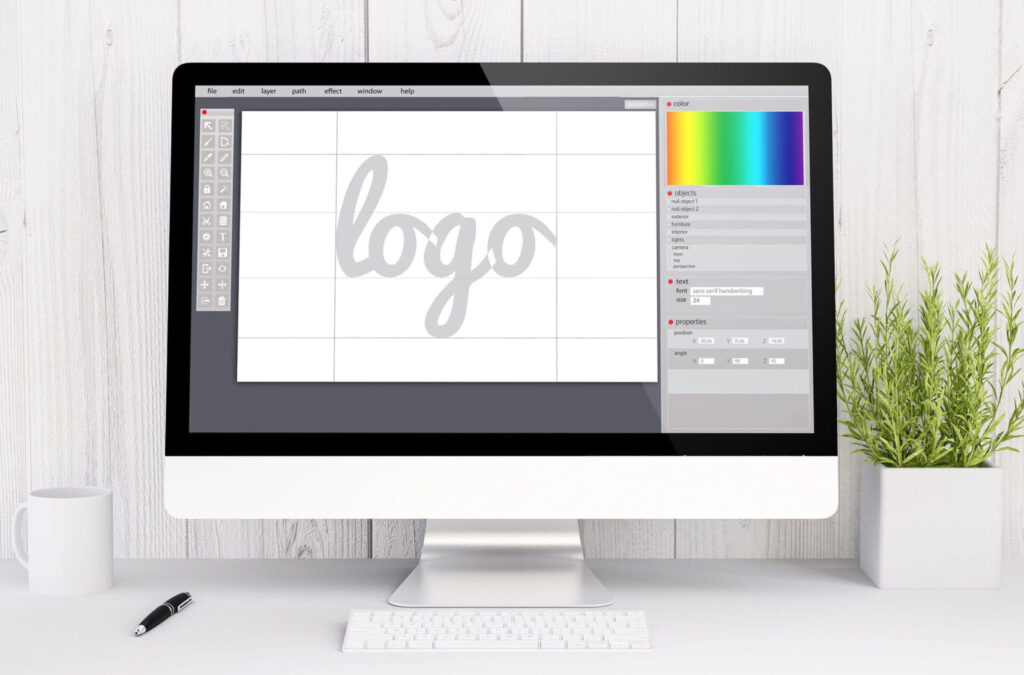
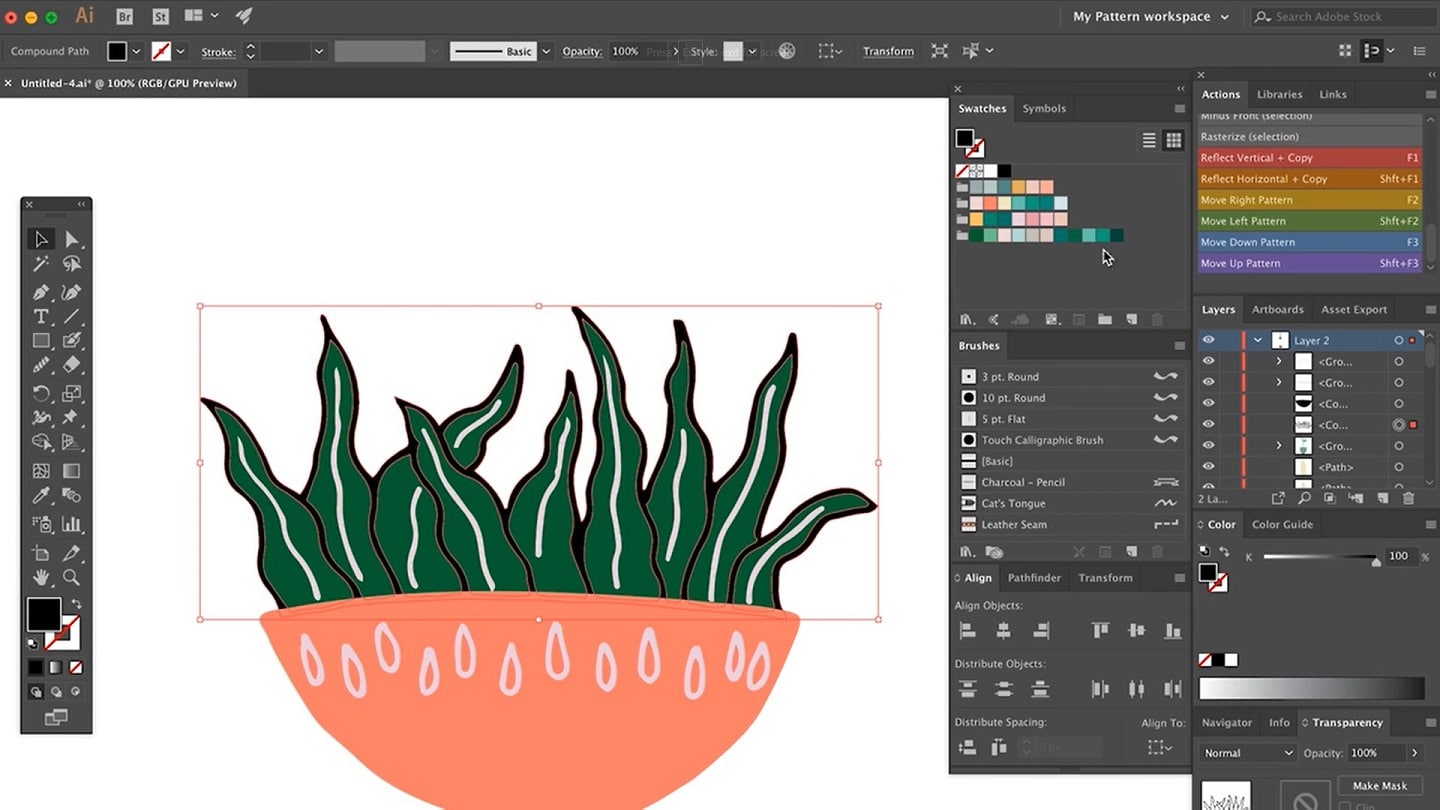
Before you digitize image for embroidery, you need to start with a logo. If you do not have one, you should consider making one using our logo maker or logo maker. Whether you are looking for a photography logo, real estate logo, construction logo, or any other branding you can find a suitable design. Then, place the design file into a digitizing software to eliminate any blank spaces surrounding the image for embroidery.
2. Set Appropriate Size
Measure the space on the merch you want your logo to appear over. Before you lock the picture, ensure you have placed correct and precise dimensions for your logo, as the final product would have the exact design size over it.
3. Choose Stitch Type
Manufacturers use different stitch types to create unique styles, textures, looks, etc. Fabric choice, push and pull resistance of the cloth, and maximum stitch length isall factors that must be taken into account. Common stitch types for machine-based embroidery include:
- Straight stitch
- Fill stitch
- Satin stitch
4. Stitch Direction
Establishing a stitch direction allows you to create a blueprint for the machine to go along with. This step is essential as the machine requires instructions for every stitch. The pattern of the stitch can give the fabric different shades and contours to replicate the logo design in the best way possible. You must not skip this step as your end product might have to undergo several jumps and a very uneven stitch pattern by the machine. The correct stitch will save you in terms of threads costs and time as well.
5. Embroidery Thread Colors
Selecting the right colors is just as important as determining your fabric and stitch type. The colors decide how accurately you replicate the digitized version of your logo. Make sure you carefully select the colors required from the color bar. Your logo’s Pantone colors must go hand in hand with the colors of the thread you opt to use for your embroidery.

6. Transfer and Digitize File for Embroidery
After converting ordinary files such as PNG, JPEG, etc., to an embroidery file, you must now transfer the (converted embroidery) file to the machine you will use for embroidery. The transfer process is quite simple; you can accomplish this with a flashcard, the computer that contains the embroidery software, or even using a USB cable. This step is essential for your embroidery machine to recognize the file before it gets on to work it’s magic, ensure you choose an appropriate file that matches the machine type.
7. Prepare the Machine
Before your embroidery machines can follow your directions to stitch your digitized logo over your branded merch, you must undergo a few steps to prepare the embroidery machine for stitching. You must notify the machine about the settings it must use by choosing the threads, stitching sequence, needles, orientation, necessary thread colors, and more, which might depend on the kind of stitch and software you use. The second thing you need to do is place your fabric or product in the embroidery machine frames/loops, while carefully sliding them into the machine’s arms.
8. A Sample Test
It is best to always test out the performance of your machine while working with a digitized logo design. This takes little to no time but is essential to carry out a final check and see if the design requires any last-minute changes before you head on to embroidering the final product
Now that you’re aware of how to digitize a logo follow the above tests, and keep testing until you are content with the machine’s output.
Ready to Get Your Logo?
Rashana Ahluwalia is a writer at GraphicSprings, specializing in branding, marketing, and entrepreneurship. With a passion for creative expression, her articles provide valuable insights for businesses striving to stand out.